
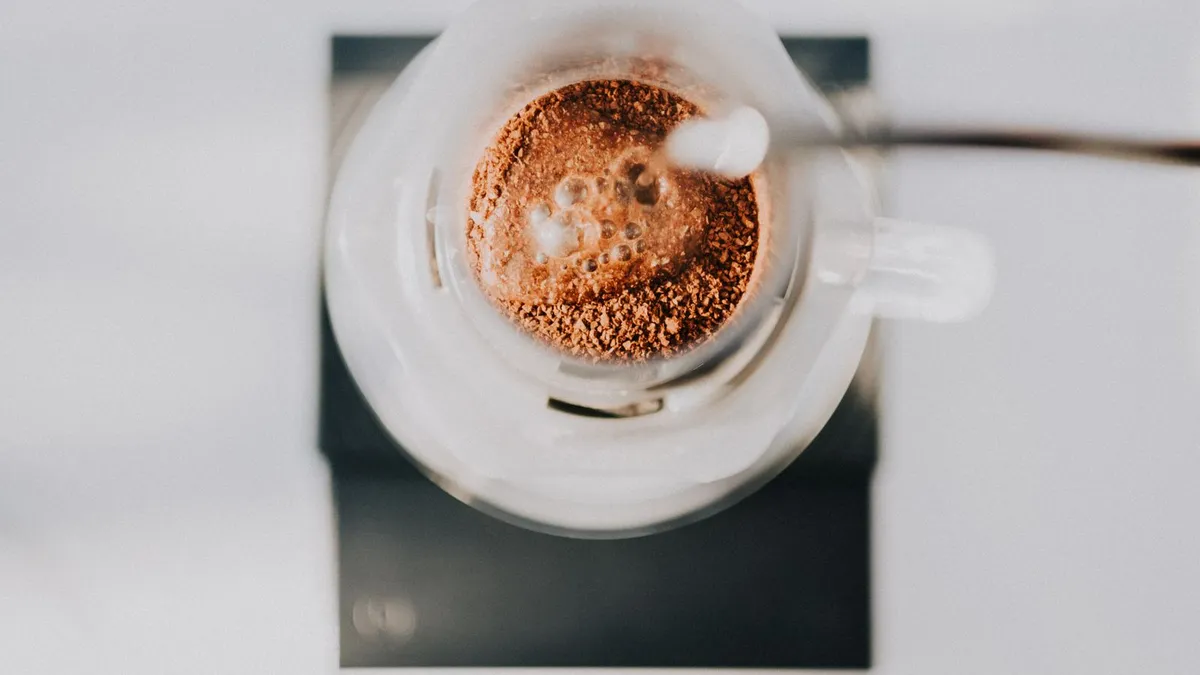
The AeroPress looks like a piece of lab equipment and works like a pocket-sized coffee bar. It's compact, it needs nothing but hot water, and it makes a full-flavored cup in a few minutes. It also has more going on than it first lets on: a long list of published recipes, an upside-down "inverted" method you'll see online (which AeroPress itself strongly discourages), and a handful of variables that really do change the cup.
PourOverPro is reader-supported. As an Amazon Associate we earn from qualifying purchases. Product details come from each maker's specs and the Amazon listing; we don't lab-test products.
Start with the standard (upright) method: about 17 g of medium-fine coffee, a 30-second bloom, water to roughly 200-230 g, a one-minute steep and a slow 30-second press. Skip the inverted method: AeroPress strongly discourages it because it can tip and spill hot coffee. Pick the Original for home and the Go for travel. If it tastes bitter, try coarser or cooler. If it tastes sour or thin, try finer or hotter.
Below you'll find the upright method step by step, why AeroPress says not to brew upside-down (and what to do instead), and a simple recipe to start from and tweak.
What Is the AeroPress?
A chamber and a plunger. That's really it. You put a filter in the cap, add coffee and water, let it steep, then push the plunger down to force the coffee through the filter. Start to finish, a few minutes.

AeroPress Original
- Combines immersion and pressure with micro-filtration
- Works with paper or metal filters
- Compact and shatterproof, per AeroPress
It works well because it borrows from two other brewers. Like a French press, the grounds sit fully submerged in water. Like pour over, the coffee goes through a fine filter on the way out. A paper filter holds back most of the oils and fine particles, so you typically get a cleaner cup than French press with more body than a lot of pour overs. That middle ground is most of the charm.
AeroPress Original vs AeroPress Go
The AeroPress Original was invented by Alan Adler and introduced in November 2005, per AeroPress. It's the version most recipes are written for, and if the brewer is going to live on your counter, it's the obvious pick.
AeroPress Go
- Portable AeroPress that packs into its own mug (per the listing)
- Mug is microwaveable and comes with a silicone lid
- Brews in about 2 minutes, per AeroPress
The AeroPress Go is the travel version. The whole kit packs into its own mug, so it drops into a backpack or carry-on without a second thought. If you brew on the road a lot, get the Go. If it stays at home, stick with the Original. AeroPress also sells other variants; check the current lineup on Amazon or the AeroPress site if you want to compare.
The Standard Method (Start Here)
This is the upright method in AeroPress's own instructions, and it's the one to learn. AeroPress's version, for a fresh medium-fine grind: water at 185°F (85°C), or just-boiled if you can't set a temperature; 16-18 g of coffee (one heaping scoop); water to the 4 mark; stir about 3 seconds; insert the plunger about half an inch to stop drip-through; wait 30 seconds; then press gently until the hiss. The steps below walk through the same idea with a short bloom added.
Setup
Drop a paper filter in the cap, rinse it with hot water, and twist the cap onto the chamber. Set the AeroPress on a sturdy mug (not your thinnest teacup). The rinse cuts papery flavors and warms everything up.
Coffee and Bloom
Add medium-fine ground coffee to the chamber. Around 15-18 g is a common starting dose for one cup. The AeroPress isn't fussy about ratios, and plenty of recipes brew a strong concentrate you top up with water afterward.
Pour just enough hot water to wet all the grounds (roughly 2-3 times the coffee's weight) and wait about 30 seconds. That's the bloom: trapped CO2 bubbles out, so the rest of the water can get at the coffee evenly.
The Steep
Add the rest of your water and give it a few gentle stirs. Push the plunger in about half an inch and pull it up slightly to make a seal. AeroPress says this stops drip-through, the same way a finger over a straw holds the liquid in. Then leave it alone for 30 seconds to about a minute.
The Press
Press down slowly and steadily, over roughly 20-30 seconds. If you find yourself leaning on it with your whole body, the grind is probably too fine. When you hear a hiss of air, stop. That's the end of the liquid.
Why This Method?
It stays upright, so spills are unlikely, and it's hard to get badly wrong. Master this one before you get clever.
The Inverted Method: Why AeroPress Says Don't
Safety warning from AeroPress: AeroPress says it strongly discourages the inverted method because it makes the brewer less stable and prone to tipping over, which can expose you to hot liquid and burns. Read AeroPress's safety note.
You'll still see it all over the internet. In the inverted method, people stand the AeroPress upside-down on its plunger, brew in it, then flip it onto a mug before pressing. AeroPress says people do this to stop coffee dripping through early, to get longer steep times and to use coarser grinds.
You can get all of that without flipping anything:
- Stop drip-through upright. AeroPress's recommended alternative is to brew the normal way and insert the plunger seal about half an inch into the top of the chamber while you wait. That seal holds the coffee in for as long as you like.
- Use the Flow Control Filter Cap. AeroPress says its Flow Control Filter Cap eliminates drip-through and lets you extend the steep and use any grind size. AeroPress lists it as compatible with the Original, Clear, Go, Go Plus and Premium, but not the XL.
AeroPress also says it thinks shorter steeps and its recommended medium-fine grind taste better, though taste is personal. So if a published recipe tells you to invert, brew it upright with the plunger seal in place instead.
Grind Size and Temperature
These two usually matter more than which way up you brew.
Grind Size
Medium-fine is the usual baseline: finer than typical pour over, coarser than espresso. Bitter or harsh? Go coarser. Weak or sour? Go finer. One step at a time.
Water Temperature
Hotter water extracts faster; cooler water extracts more slowly. For most brewing, the commonly cited range is 195-205°F (90-96°C), per the Specialty Coffee Association. AeroPress recipes often go cooler than that, with some starting as low as about 175°F (80°C), because the fine grind and pressure already make extraction efficient.
A good rule of thumb: cooler for darker roasts, hotter for lighter ones, then let your taste steer. If you want to hit a number every time, a variable-temperature kettle makes it easy (see our gooseneck kettle guide).
AeroPress Competition Recipes
Yes, there's a World AeroPress Championship. It happens every year, competitors brew with the AeroPress, and judges score the cup. Winning recipes usually get published, and they're a fun look at how far people push this little plastic tube.
These recipes get very specific about dose, water temperature, grind, steep time and pressing speed, and many are written for the inverted method. If you follow one, brew it upright with the plunger seal in place, as AeroPress recommends. You don't need them to make good coffee. But following one exactly is a great way to learn what each variable does.
Why the AeroPress Works Well for Travel
Compact: It fits easily in a bag, and the Go packs into its own mug.
Shatterproof: Per AeroPress, it's shatterproof, unlike glass brewers such as a Chemex.
No electricity needed: Hot water from a kettle, a hotel coffee machine, or a pot on a camp stove will do.
Quick: A brew takes a few minutes from hot water to cup.
Taking it on a trip? Pre-weigh doses into small bags, or pack a hand grinder so you're not stuck with pre-ground.
Common Mistakes
Water That's Too Hot for Your Coffee
Boiling water can drag out harsh, bitter flavors, especially from darker roasts. If your cup tastes harsh, give the water a moment to cool before brewing.
Grind Too Fine
If pressing feels like a workout and the coffee tastes chalky or bitter, go coarser. The AeroPress isn't an espresso machine, no matter how hard you push.
Not Stirring
Dry pockets of coffee don't brew. A few gentle stirs after adding water make sure every ground gets wet.
Pressing Too Fast
Slow and steady over 20-30 seconds beats ramming it down in a few. It's gentler on the coffee and more even.
Not Rinsing the Filter
It takes a few seconds, cuts papery flavors and warms the brewer. Easy win.
A Simple Everyday AeroPress Recipe
Use this as a starting point and adjust to taste:
- Place the AeroPress (with a rinsed paper filter) on your mug
- Grind about 17 g of coffee medium-fine
- Heat water, then let it cool a little below boiling
- Pour about 50 g of water to wet the grounds and wait 30 seconds
- Add water up to roughly 200-230 g total and stir gently a few times
- Insert the plunger just enough to form a seal
- Wait about 60 seconds
- Press slowly over about 30 seconds, stopping at the hiss
- Taste, and top up with hot water if you'd like it less concentrated
A few minutes, start to finish. Next time, if the cup is bitter, go coarser or cooler; if it's sour or thin, go finer or hotter. Change one thing at a time so you know what worked.
What to remember
The AeroPress is compact, forgiving and more versatile than it looks. Brew upright, with a medium-fine grind and water a little below boiling. For longer steeps, use the plunger seal (or the Flow Control cap) rather than flipping it, since AeroPress strongly discourages the inverted method. Get the Original for home and the Go for travel.
Is the AeroPress the Right Brewer for You?
If you want one brewer that's easy to learn, works at home and on the road, and still leaves room to tinker, it's hard to argue against. Pick the Original for the kitchen or the Go for travel, start with the recipe above, and change one variable at a time until the cup tastes right to you.